|
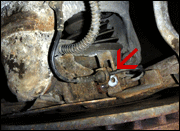
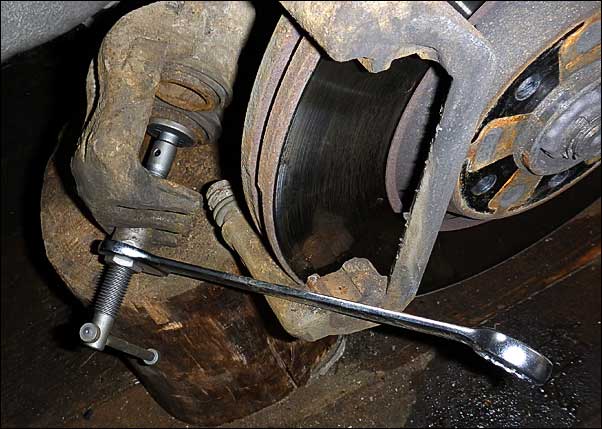
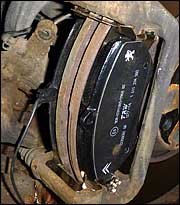
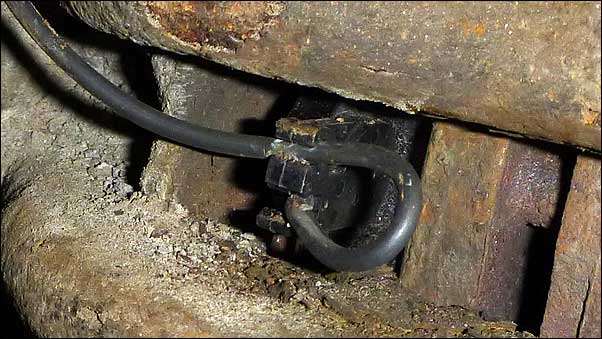
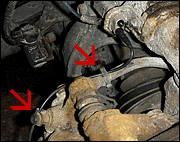
BRAKE PADS |
|
|
|
leirdalsboki.no is in no way affiliated with Automobiles Citroën
© leirdalsboki.no
|
|
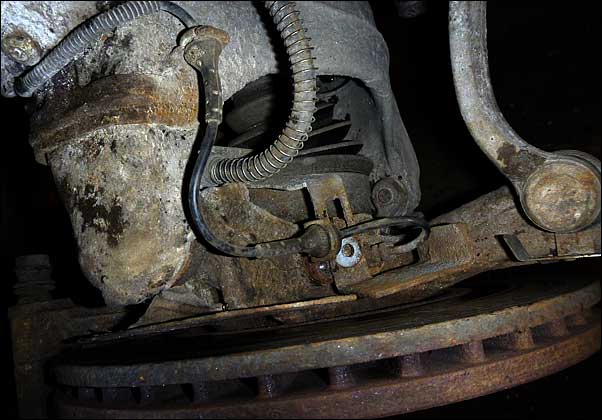
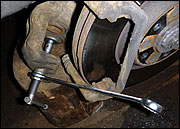
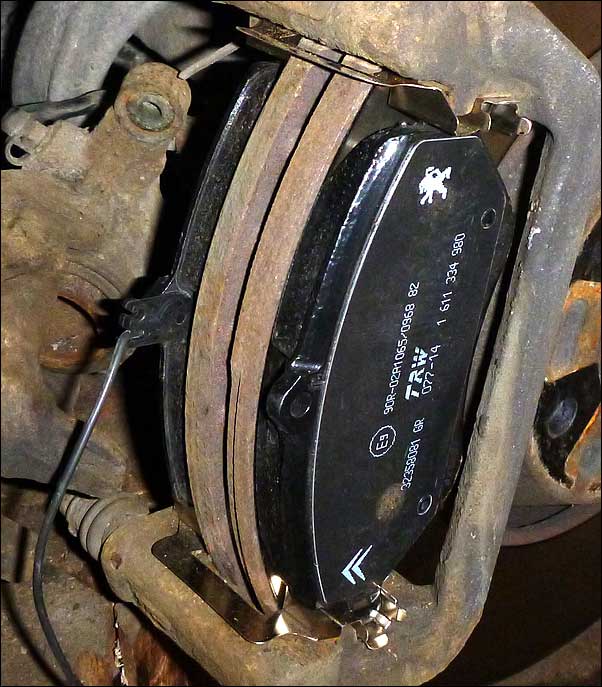
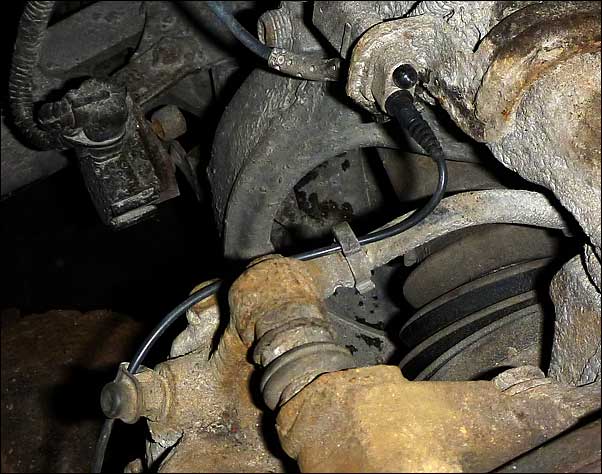
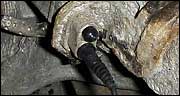
BRAKE PADS |
|
|
|